


Home > Quick Guides > MDM Geofencing Guide: How to Set Up a Geofence with AirDroid Business?
Like
Dislike


MDM Geofencing Guide: How to Set Up a Geofence with AirDroid Business?
Filed to: Quick Guides

Geofencing is a location-based service that allows businesses to set up virtual boundaries around a geographical area to manage Android devices. Here's a simple guide on how to set up a geofence with AirDroid Business.
Step 1
Navigate to Geofencing Tab
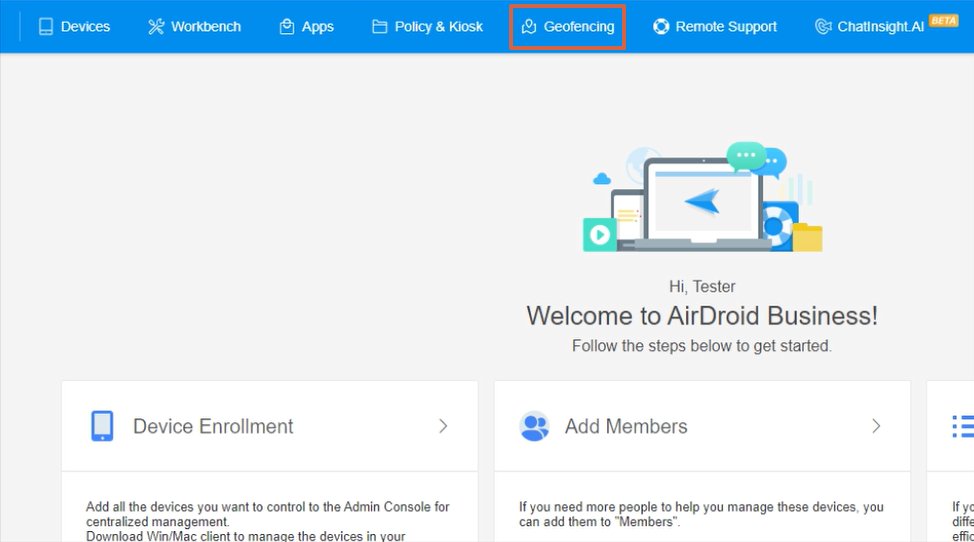
Log in to your AirDroid Business dashboard. From the top of the page, switch to the 'Geofencing' tab.
Step 2
Create a New Geofence
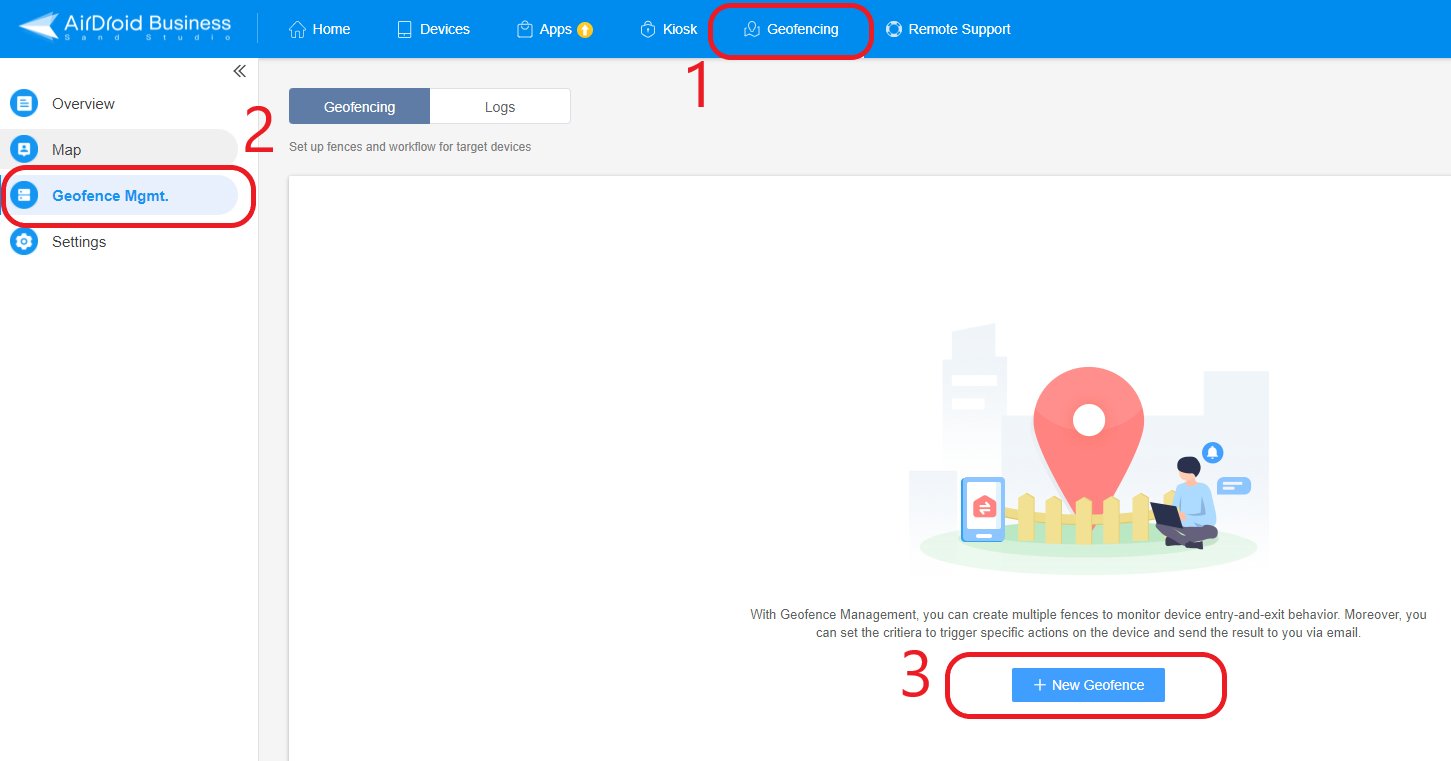
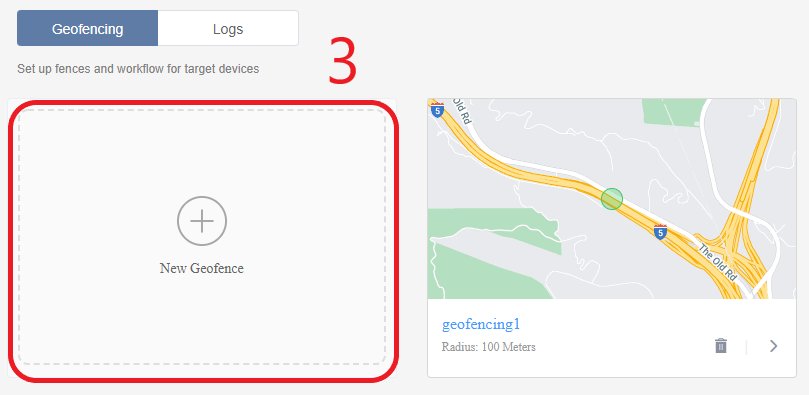
Click on 'Geofence Mgmt.' and then select '+New Geofence'. If there are existing geofences, you can also click on the blank block with '+New Geofence' in the middle.
Step 3
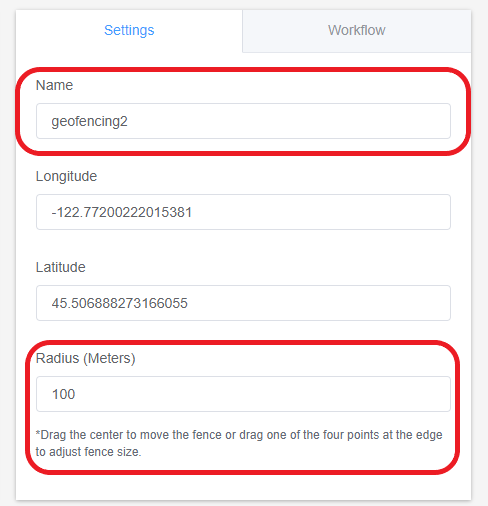
Configure the Geofence
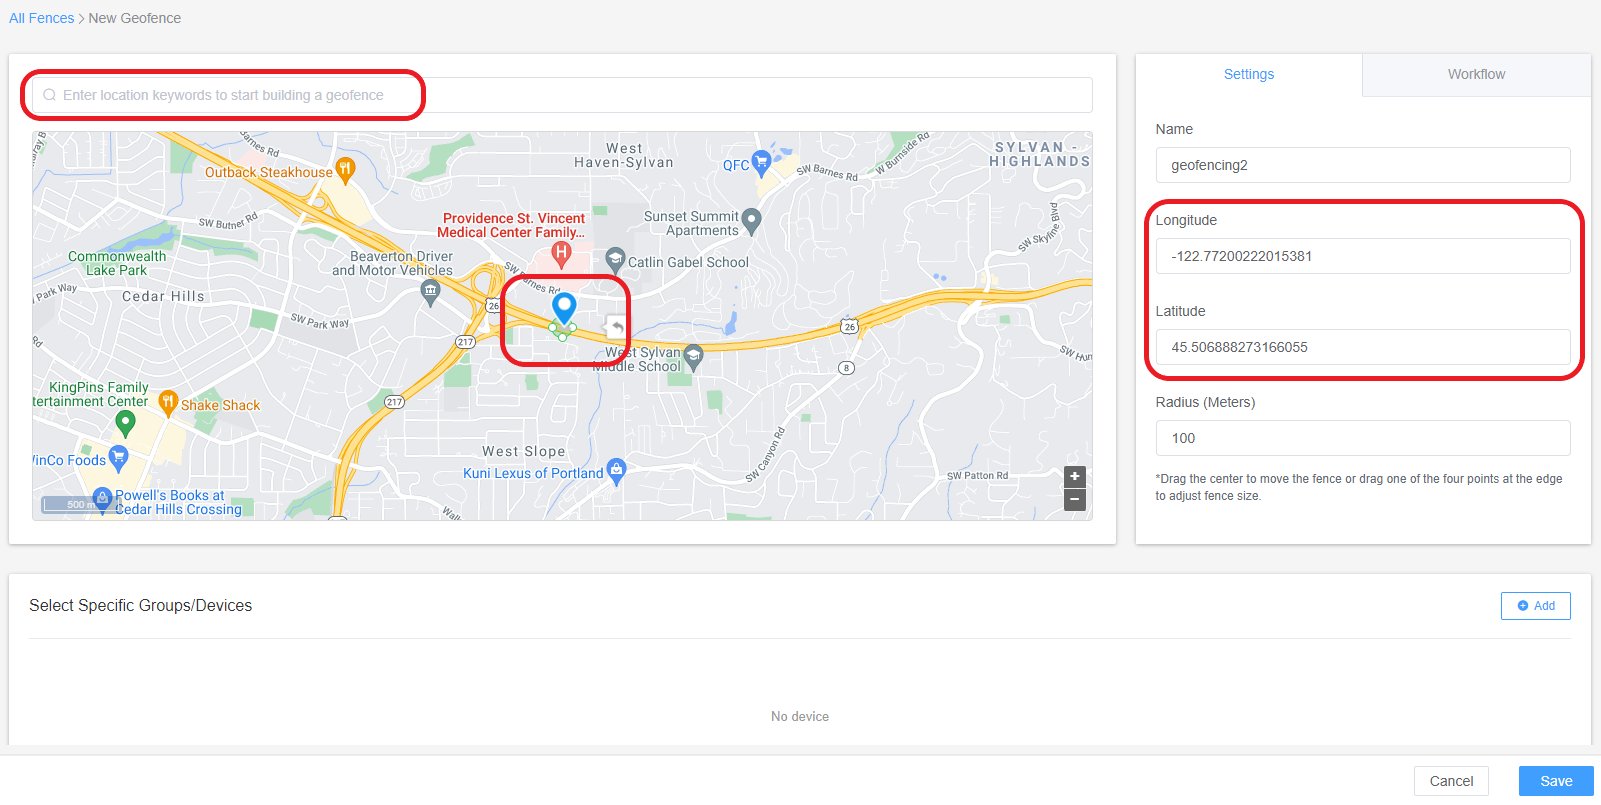
Drag the fence to your desired location. Input the longitude and latitude of the location, or input the location keyword. Fill in the name and the radius of the Geofence.
Step 4
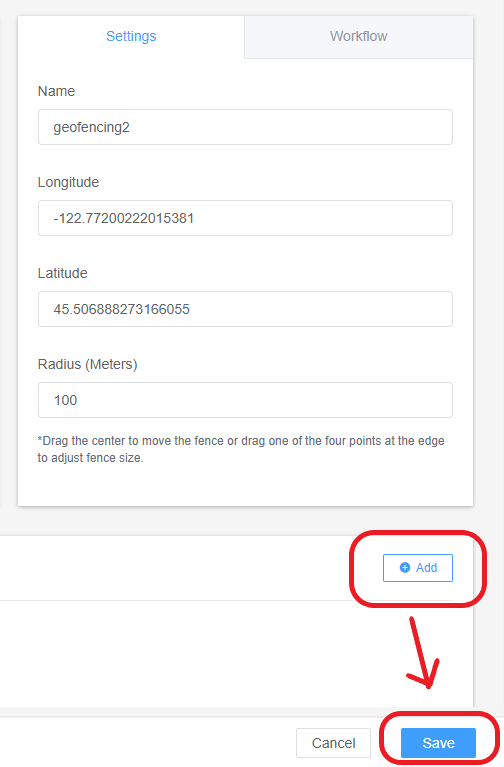
Apply the Geofence
Click on '⊕Add' at the bottom right corner. Select the groups or devices that the Geofence will apply to and then click the 'Save' button.
With these steps, you've successfully set up a geofence with AirDroid Business.
Get a Start with AirDroid Business Now
Discussion
The discussion and share your voice here.
Leave a Reply.