How to Transfer Photos from Canon Camera to iPhone/Android
Traveled to your favorite destination and captured some terrific scenery on your professional camera? The next step is to transfer your clicks from the camera to a phone for better editing, and convenience in viewing, or sharing with your fellows.
If you're also wondering how to transfer photos from camera to phone, we have got you covered. No matter the type of your camera or its storage, transferring photos to your phone is a straightforward process.
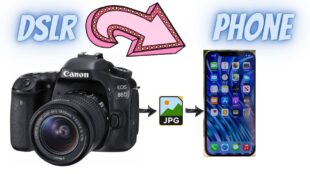
This article will teach you how to transfer Canon photos to iPhone/Android in lossless quality. Let's take a look!
Part 1: Can You Transfer Photos from Camera to iPhone/Android without a Computer?
Typically, people rely on a computer to transfer photos from a camera to a phone. Not only is this method long and tedious, but sometimes we don't have a computer at our disposal.
Luckily, there are multiple ways to transfer images from camera to phone without a computer.
All you need is basic things like:
- Wi-Fi connection
- USB cable
- OTG cable
- SD card
Depending on the method, you can on any of these tools to get the job done. With that said, let us jump to the step-by-step guide for how to transfer pictures from camera to phone without using a computer.
Part 2: Transfer Photos from Camera to Phone using Canon Camera Connect App
One of the easiest ways to transfer Canon DSLR photos to your phone is using the Canon Camera Connect app. It lets you connect your camera and smartphone without any wired connection.
Luckily, you can download this application for free from the App Store or Play Store. With this method, you don't need any USB cable or SD card to import your photos.

The steps for using this multi-function app are pretty simple. Here's how to transfer photos from a digital camera to a phone wirelessly:
Step 1: Install the Canon Camera Connect app on your phone and set it up.
Step 2: On your camera, press the Playback option to view all your photos.
Step 3: Next, select the "Smartphone" or "Wi-Fi" function and enter a random name for your camera.
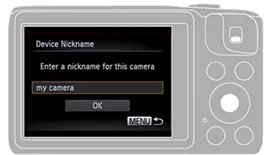
Step 4: After that, press the "Mobile device" or "[Func. Set]" button.
Step 5: Now, open your phone and go to Wi-Fi settings. Select the camera's Wi-Fi and enter your password to get going.
Step 6: Open the Canon Camera Connect app and select the Canon Camera to connect both devices.
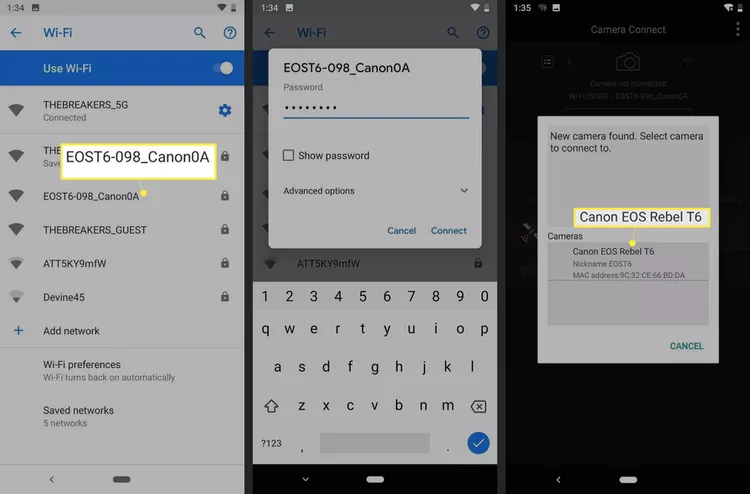
Step 7: If the connection is successful, tap "Images on the camera" to view your images.
Step 8: Next, select the photos and hit Transfer. All the photos will be downloaded to your Photos app or Gallery.
And that's how to transfer photos from a Canon camera to a phone without a computer or USB. This method is applicable to all iOS and Android phones and tablets.
Also Read: How to Connect Canon Camera to Mac Using Wi-Fi
Part 3: Transfer Images from Camera to iPhone Via Lighting-to-USB Camera Adapter (iPhone)
Not a tech-savvy person to go through the hassle of using the Camera Connect app? Luckily, we have another simple solution for you. Just use the Lightning-to-USB adapter to transfer camera photos to the phone without losing quality.
This adapter is specifically designed to establish a seamless connection between your iPhone and camera, so you can directly import camera photos effortlessly.
Requirements:
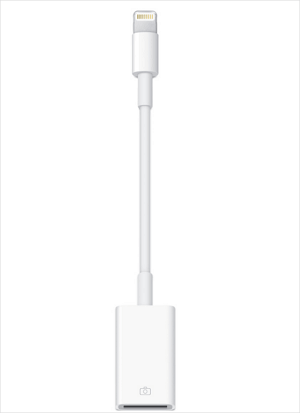
Here is a 3-step guide for how to transfer photos from a Fujifilm camera to a phone using a Lightning-to-USB adapter:
Step 1: Insert the camera cable into the adapter's slot.
Step 2: Plug the adapter into the Lightning port of the iPhone.
Step 3: When your iOS device detects the camera, it will automatically open the Photos app.
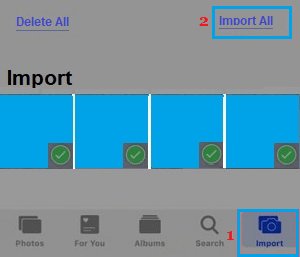
Step 4: In the Photos app, tap Import at the bottom. Select the photos you want to transfer and hit Import.
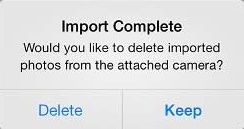
Step 5: When the photos are transferred, you can choose to either Delete or Keep the camera photos.
Bonus Tip: Use an SD Card Reader if the Camera and iPhone Are Not Compatible
Often, your iPhone doesn't recognize the camera due to compatibility issues. If this happens, you can simply use a "Lightning-to-SD Card Reader" to make the transfer. These devices are extremely convenient to operate even for non-technical users.
Follow the below steps to proceed:
Step 1: Remove the SD card from your camera and insert it into the Lightning-to-SD Card Reader.

Step 2: Connect its Lightning end to your iPhone and open the Photos app.
Step 3: Tap Import at the bottom to transfer your photos.
That's pretty much everything you need to know about how to transfer Canon photos to iPhone. But what if you're an Android user? Let's take a look at that!
Part 4: How to Transfer Photos from Camera to Android Without Computer
If you're an Android user and seeking how to transfer photos from camera to phone, cheer up. With an OTG adapter, transferring files from the camera to Android is a walk in the park. It is the quickest and most effective to transfer photos to Android without a computer.
Requirements:
- USB OTG Adapter.
- Digital Camera with USB Cable
Here's how to apply this method:
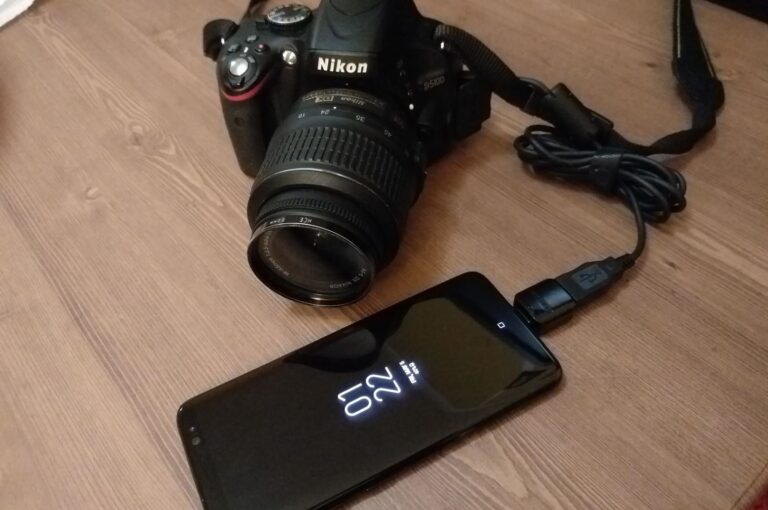
Step 1: Plug the USB cable of your camera into the Android.
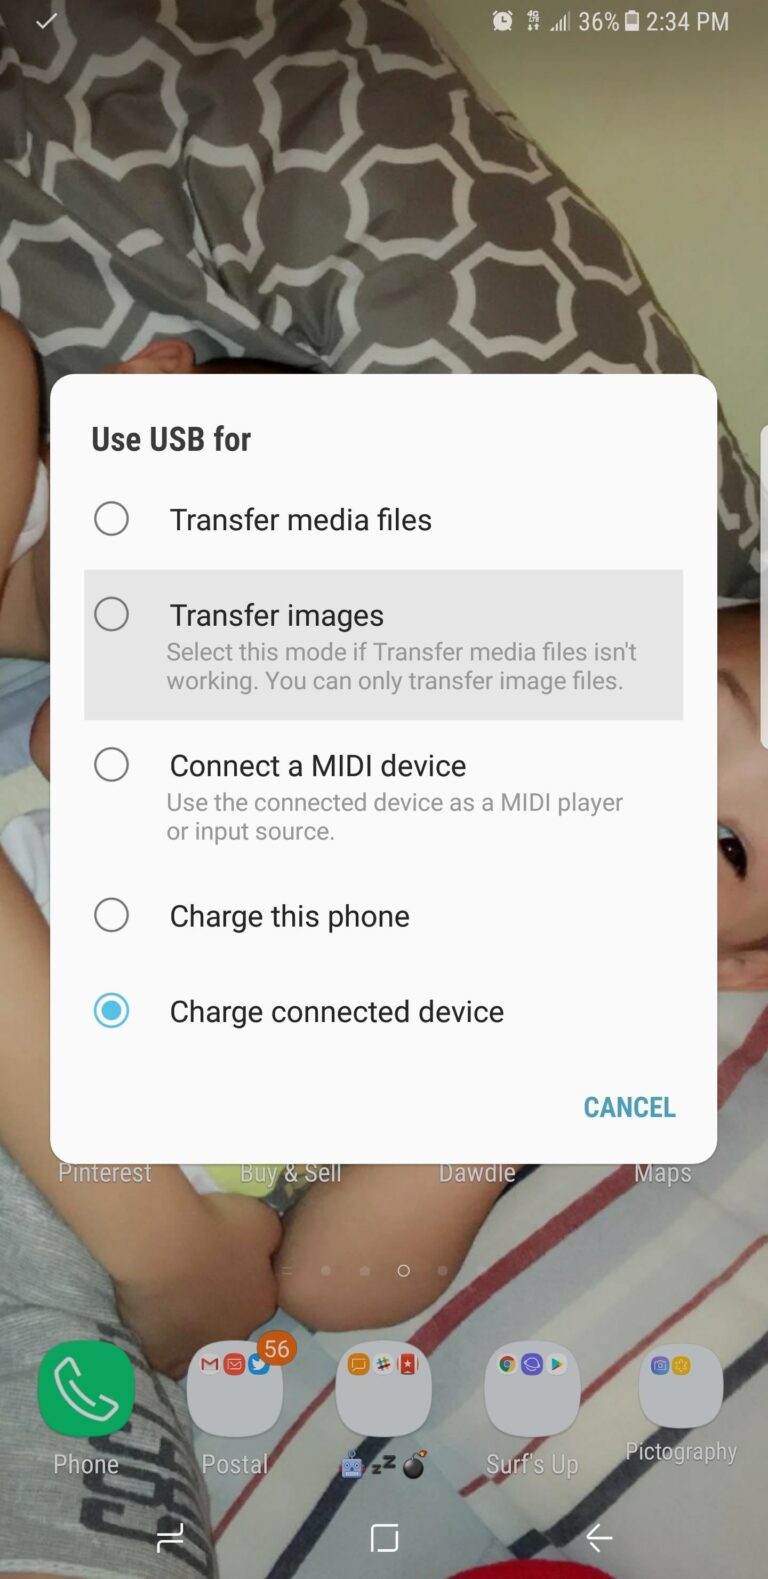
Step 2: A pop-up will appear on the Android device. Swipe down from the Notification Center, tap "Tap for other USB options" and select "Transfer Images."
Step 3: You can now transfer the camera photos. Head to the File Explorer app, open the Camera folder and select the desired photos.
Step 4: Go to any folder in your Android internal storage and tap Paste.
Use the same procedure to transfer photos from Sony camera to phone without any trouble.
Part 5: Use AirDroid Personal to Transfer Camera Photos Between Your PC and Phone
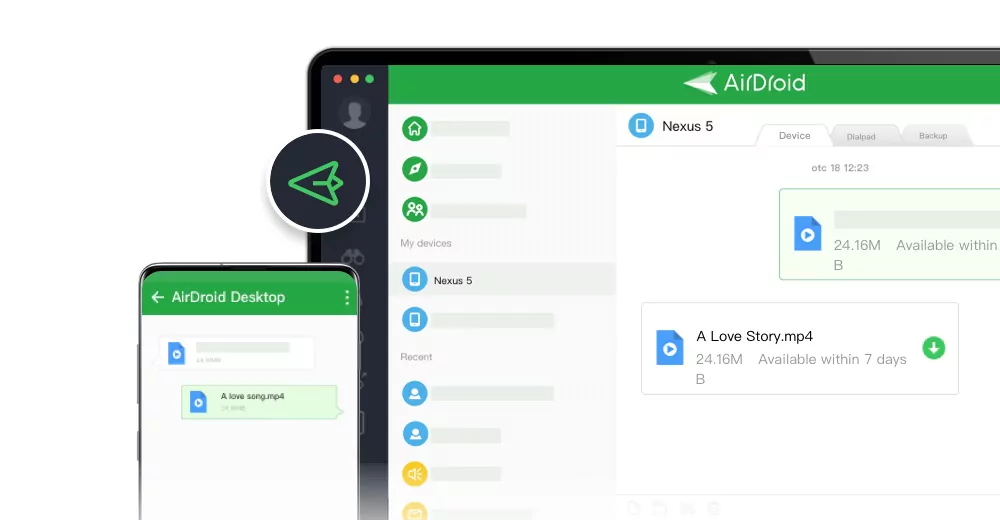
We all stumble across situations when transferring raw camera photos from a computer to a smartphone is a must. Maybe, you need to edit the photos or share them with your friend. Either way, AirDroid Personal is all you need to transfer your camera photos in lossless quality.
This versatile tool allows you to wirelessly share photos and other documents across different platforms. Whether you wish to transfer photos from Windows to iPhone/Android, iPhone to Windows, or Android to Mac, it DOES IT ALL.
Thanks to its blazing-fast speed, transferring GBs of data can be completed within minutes. On top of that, it also supports Remote file transfer with a single tap.
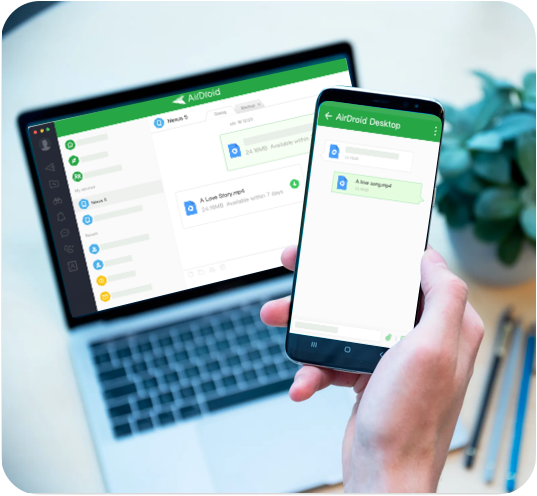
If that's not enough, this tool offers additional utilities including:
Key features of AirDroid Personal
- Mirror your Android phone on a PC.
- Remote control Android devices in an intuitive way.
- Access and manage all the files on your phone from a computer remotely.
- Receive and respond to SMS from a computer without opening up your phone.
Final Remarks
To help our readers, we have covered everything about how to transfer photos from camera to phone. Choose the method that suits your needs and preferences, be it Wi-Fi, Connect app, or USB/OTG cable. Hopefully, you won't face any trouble in transferring the photos.
And if you wish to move camera photos between your PC and smartphone or between two smartphones, use AirDroid Personal. It provides a hassle-free way to transfer large files across different platforms including Android, iOS, Mac, and Windows.
Thanks
FAQs
1. What is the easiest way to transfer photos from a camera?
The easiest way to transfer camera photos to a phone is via a USB connection. Android users can use an OTG Adapter to connect both devices.
For iPhone devices, the best option is to use a Lighting-to-USB Camera Adapter and start importing camera photos from the Photos app (using "Import" option).
2. How do I transfer photos from my Canon camera to my phone?
You can easily transfer pictures from a Canon camera to your phone using the Canon Connect app. For this:
- Install the app on your phone.
- Enable the Wi-Fi function on your camera.
- From your phone's Wi-Fi settings, select the Wi-Fi of your camera.
- Open the Connect Camera app and select "Canon Camera."
- Once connected, you will view all the camera photos in the app that you can import at once.
3. Can I transfer photos from camera to Android phone?
Yes, you have multiple ways to transfer photos from camera to Android without a computer. Use either the Camera Connect app or OTG Adapter to get the job done.
4. How do I connect my Canon camera to my iPhone wirelessly?
Use the Camera Connect app to establish a wireless connection between your camera and iPhone. To do that:
- Press the Wi-Fi option on camera and give it a name.
- Go to Wi-Fi on iPhone and tap the name of your camera. Enter password.
- Launch the Camera Connect app and select "Canon Camera" to connect both devices.
- After that, you can easily start importing pictures.
5. How to transfer Canon camera photos to my computer?
If you wish to transfer Canon Rebel T7 photos to computer, follow the below steps:
- Connect the camera to your Mac.
- Open Photos (Or click Devices in the sidebar and select device.)
- Click on the photos you want to import and hit "Import Selected."
That's how you transfer photos from Canon G7X to Mac.



Leave a Reply.