[2023 Updated] How to Run Android Apps on PC?
A huge community of gamers loves to play mobile games but let's just admit it, nothing beats the excitement of playing thrilling mobile games on a larger display. Similarly, it's much more convenient to manage your mobile apps via mouse and keyboard.
Luckily, the internet is awash with software that allows users to run Android apps on PC seamlessly. Thanks to these tools, anyone can easily manage Android mobile apps on a computer using a mouse and keyboard.
Here are our top picks for how to run Android apps on your PC or Mac without any lag. Let's check it out!
Part 1. Best Way to Run Android Apps on PC without Emulator
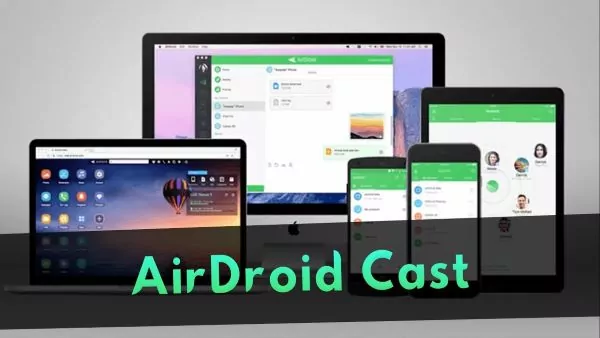
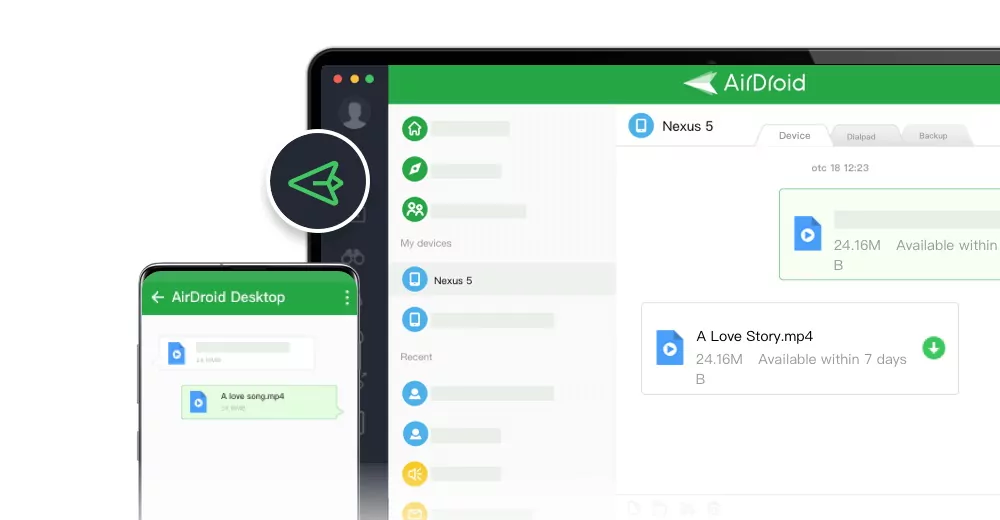
If you're looking for the most efficient and user-friendly tool to run your favorite Android apps on a larger display, then AirDroid Personal is your ideal companion. It is a lightweight yet powerful screen mirroring app that offers a click-through process to connect your Android and PC and then manage all apps via mouse and keyboard.
What makes it our top pick is the lag-free experience users get to play Android games as well as seamlessly run every Android app installed on their smartphone.
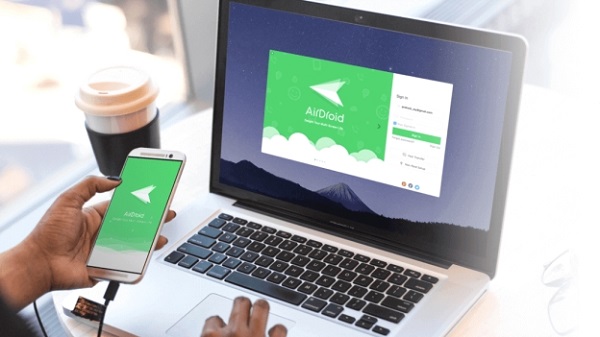
Unlike its competitors, AirDroid Personal doesn't require you to root your Android device. Its other features empower you to transfer files across platforms, use an Android camera remotely, and manage your SMS, calls, and other mobile notifications from your PC.
Additionally, you can control an Android device from another Android or iOS device. Thanks to its sleek and modern interface, it's a go-to option for both beginners and pro users.
Key features of AirDroid Personal
- Run Android apps on your computer smoothly
- Provides a seamless connection between Android and PC
- Play Android games with a bigger screen on PC
- Transfer files between Windows, Mac, Linux, iOS and Android devices
- Comes with a built-in screen recorder to capture your Android phone's screen
- Users can remotely access the remote camera of another Android which comes as a handy security feature
Benifits
- Compatible with all Android phones and Windows versions
- Beginner-friendly interface
- Supports non-root devices
- Comes at a low cost of just $3.99/month
Steps to Run Android Apps on PC with AirDroid Personal
Check out how to run Android apps on PC without any emulator:
Step 1. To begin, install and launch AirDroid Personal App on your Android device. Then, sign in/sign up with your AirDroid account.
Step 2. After that, follow the on-screen instructions to allow AirDroid Personal to use your Android device.
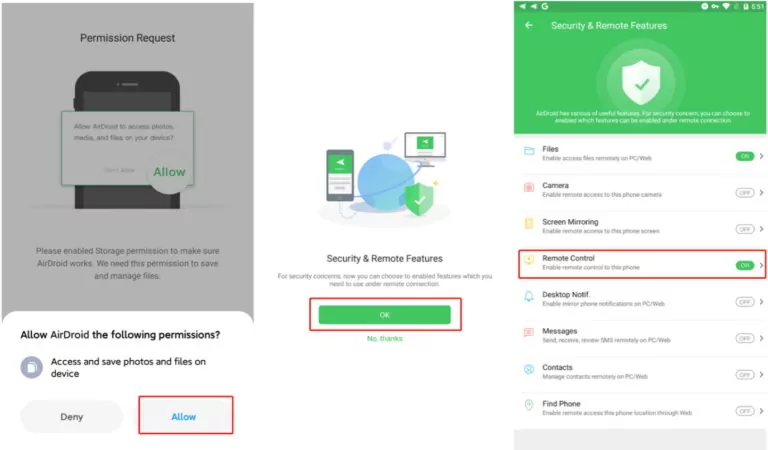
Step 3. Now, download AirDroid Personal Client on your PC. Sign in with the same AirDroid account you used on Android device.
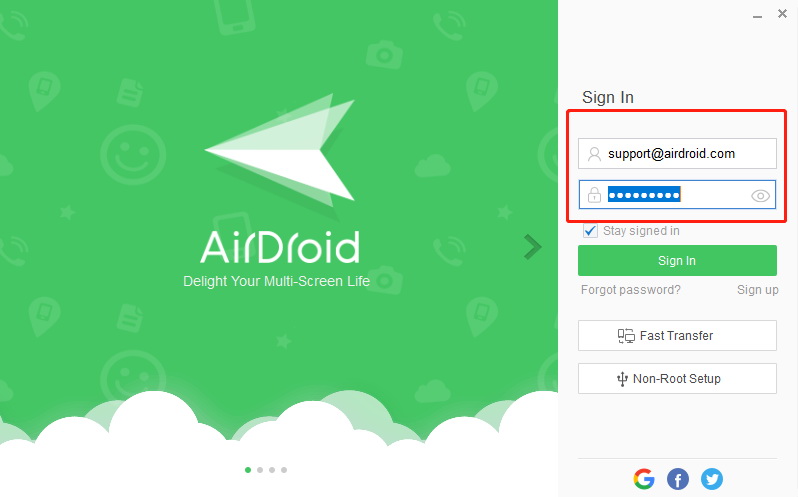
Step 4. After that, launch the desktop client and hit the Telescope icon in the left bar. The program will show the mobile devices synced with the same account.
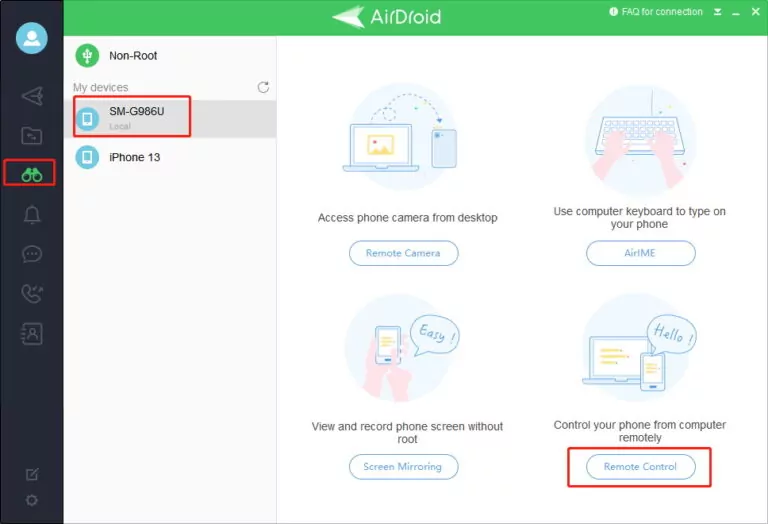
Step 5. Here, select your Android device and hit on "Remote Control" to establish the connection.
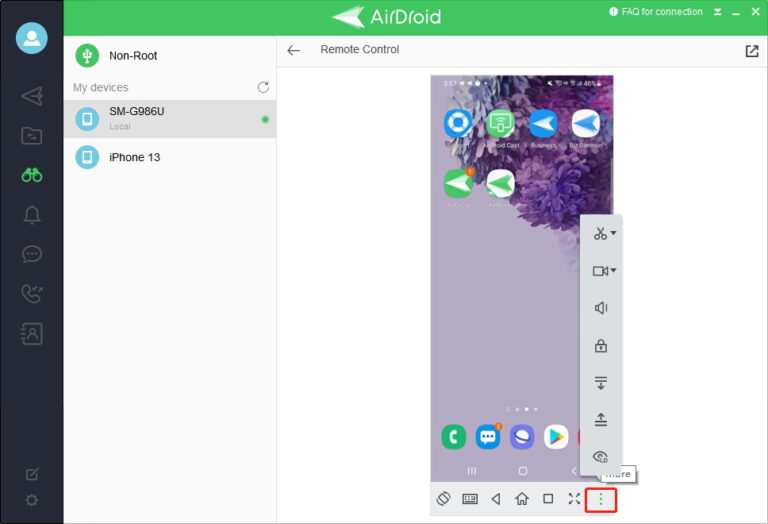
Step 6. Once the connection is established, you can easily run all the Android apps through the remote control feature on your PC.
Part 2. Run Android Apps on PC with Android Emulator
Another efficient way to run Android apps on a PC is via Android emulators. These tools are designed specifically to empower users to manage their Android phones from a big screen. All you need to do is install the competent emulator on your PC, install the apps through its own Google Play Store, and start using them via mouse and keyboard.
Use BlueStacks
The internet is awash with powerful Android emulators but none of them comes close to what BlueStacks brings for users. It is the fastest and best app to run Android games on PC without going through any tech-savvy procedure.
BlueStacks is full of Android apps but it shines when it comes to playing Android games. The emulator comes loaded with mappings for your mouse that you can easily customize as needed.
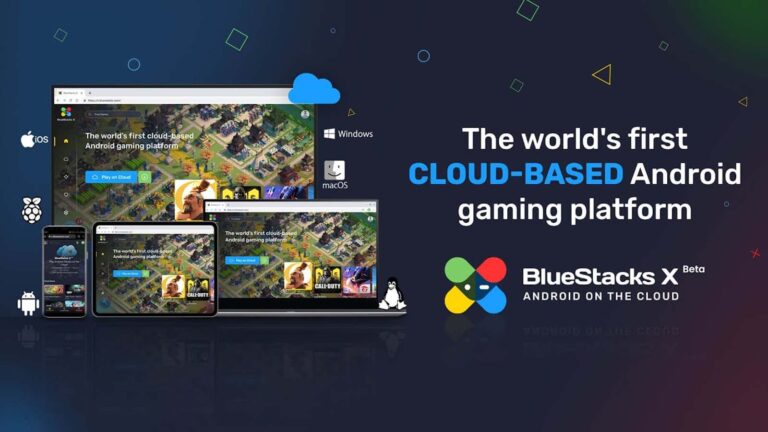
Steps to Run Android Apps on PC with BlueStacks Emulator
Check out how to run Android apps on PC Windows 10:
Step 1. Head to BlueSatcks.com and install the latest version on your PC.
Step 2. After launching it, sign in to your Google account to get started.
Step 3. Now, open the BlueStacks Google Play Store and search for the Android app you want to run. Then, select Install to download them within the BlueStacks app.
Step 4. You'll see all the installed apps on the BlueStacks home screen. Start using them as you wish.
Part 3. Which Method is Better for Me?
Now that you know both BlueStacks and AirDroid Personal are efficient software to run Android apps on Windows 7 PC, it's time to decide which app you should prefer.
Based on users' feedback and our own research, AirDroid Personal is your perfect choice for enjoying Android apps on a larger display. Installing and setting it up is so easy that even an 80-year granny or a 10-year kid won't face any issues with it. Also, you don't need to install any app on your PC that you want to run, which saves quite a lot of time and effort.
On the contrary, installing and setting up emulators itself is a heck of a task. For instance, the latest version of BlueStacks consumes around 5GB of your hard drive which can put a lot of strain on CPU resources. Plus, such tools make your PC slow and often laggy particularly while playing a graphic-demanding game.
That's why we recommend users always rely on AirDroid Personal to manage their smartphones from the computer. With the impeccable features it offers at such a user-friendly price, it is rightly considered the best way to run Android apps on PC.
Final Words
To sum up, running Android apps on a big screen has never been easier with all the amazing screen mirroring apps and Android emulators. This article concludes that AirDroid Personal is the best app to run Android on PC seamlessly. However, the final choice is yours to select whichever tool you like to run Android apps on PC.


Leave a Reply.