Android Zero-touch Portal: Dashboard Overview & Configure
While setting up hundreds of laptops and smartphones on a company's system, the IT teams can feel overworked. Plus, shipping and other charges can cost a lot.
But with Android Enterprise zero-touch enrollment, organizations can easily bring hundreds and thousands of new devices into centralized management without manual physical intervention. That is to say, these zero-touch enrolled devices can be used out of the box.
In this article, I will dive deep into the tool for deployment and provisioning, and also, a guide to use it.
Part 1 : Official Android Zero Touch Portal
First, let's look at the essential platform.
Android zero-touch portal, or zero-touch portal, is a web-based portal that functions as an enrollment console to add and configure devices, and to add resellers and users.
This is the official website and you can log in here: https://partner.android.com/zerotouch.
Part 2 : Overview of Zero Touch Admin Portal
Once you log in to the zero touch admin portal, you will see the following navigation bars. Each of them is used to handle various functions, which include:
1 Configurations
The 'Configurations' tab is where you can add a new configuration profile that to use on selected devices.

What You Can Do
- Create, edit, or delete configuration profiles.
- Set up the default configuration for newly added devices.
- View each configuration profile detail.
2 Devices
In 'Devices', you can see all purchased devices and their details, such as IMEI, MEID, Serial num, Order number, Phone number, and configuration status. Moreover, the following operations are allowed:

What You Can Do
- Search devices.
- Apply preset configuration files to selected devices.
- VManage column for viewing more device details.
- Download results as .csv
- Upload a CSV file for batch configurations.
- Deregister: delete/unenroll a device from the zero touch enrollment portal.
3 Users
The portal enables other team members, such as IT professionals, team leaders, etc., to access it by adding users.

What You Can Do
- Add or delete users.
- Edit user role and manage access.
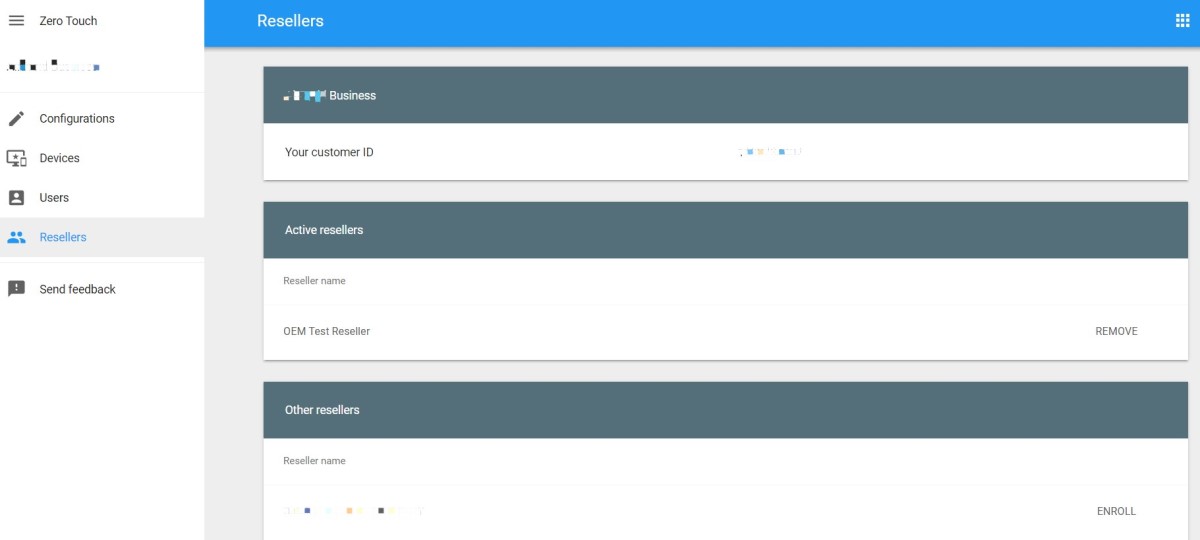
4 Resellers
This is where to activate and deactivate the resellers you partner with.

What You Can Do
- View your customer ID.
- View active reseller and remove.
- Add other resellers and enroll.
Part 3 : How to Use Android Zero Touch Portal?
1. Get your account of the zero touch enrollment portal from your reseller, and then log into the portal.
2. Create a configuration profile in 'Configurations'. You will need this info to complete it: EMM DPC, DPC extras, Company name, Support email address, and Support phone number.
Tips:
- EMM DPC - Click and choose your EMM provider in the droplist. For example, you can choose AirDroid Business as your EMM DPC.
- DPC extras - Copy this through your EMM provider platform. You will need to set up policies and apps that will use on the devices on the EMM admin console. Learn how to get it here.
- Support email address - This email address will show up to the device user before device provisioning.
- Support phone number - This phone num plays the same role as email.
- (Optional) Custom Message - Give an instruction to device users via the pop-up message.
3. Find devices that you want to configure in 'Devices'. Drop down the configuration status and you can choose a profile.
4. Add team members to help with the management. You can add in 'Users' and assign roles.
Part 4 : Where Can I Get Support If I Have Issues with the Android Zero-Touch Portal?
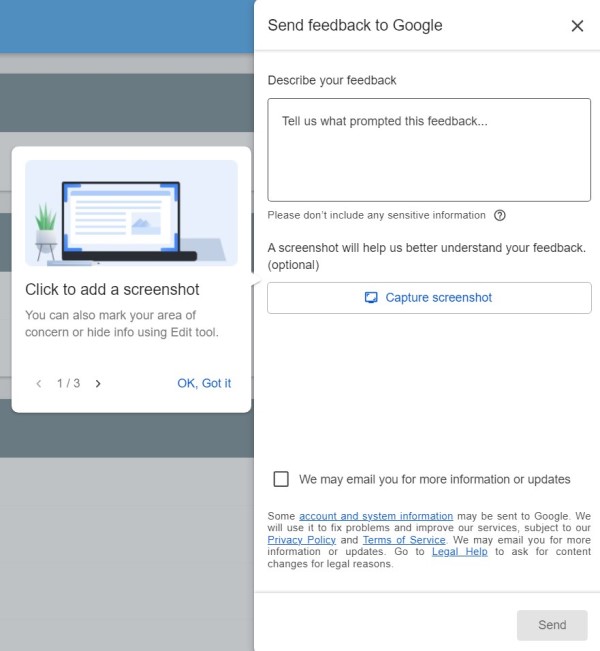
a. Send feedback directly via the zero-touch portal.
In the dashboard, you can see a 'Send feedback' button. Click it and leave your message with screenshots.

b. Post questions in Android Enterprise Help.
This is the community with topics related to Android Enterprise. You can find questions similar to your issues or post one.
c. Contact your reseller.
You can contact your reseller to check the device enrollment accounts or other settings to fix the issues with your portal or device end.
FAQs
1) Go to the login page and click on "Forgot password?".
2) You'll be asked to enter the email address associated with your account. After entering it, click "Next".
3) Google will then provide you with one or more options to verify your identity. This could be a recovery email, phone number, or security questions.
4) Once your identity is verified, you'll be allowed to reset your password.


Leave a Reply.